
After serving more than 17 months of hectic life in my kitchen, my Whirlpool bread maker finally stopped responding to instruction. With the raw ingredients still waiting to be kneaded in the bread pan, I have no choice but to handknead the dough. As the ingredients were cold, the dough took an extraordinarily long hours to proof to the desired height - as though undergoing a long cold fermentation process. I have no idea how long it took, but the bread yielded a good soft texture.

Bread weight: 530g
Raw dough weight : 581g
Ingredients
65g cold fresh milk
65g cold water
30g fine sugar
4g salt
30g beaten egg
50g Greek yoghurt
30g cold unsalted butter
12g honey
280g bread flour
20g superfine wholegrain flour
3/4 tsp instant dry yeast

Borrowed the steps from my Pain de Mie recipe :)
Directions
1. . Pour the ingredients according to the sequence listed to the bread pan. Dig a hole at the top of the flour and pour the instant dry yeast in.

2. Select "kneading" function and press start. The process will take about 1:30 hour to complete.


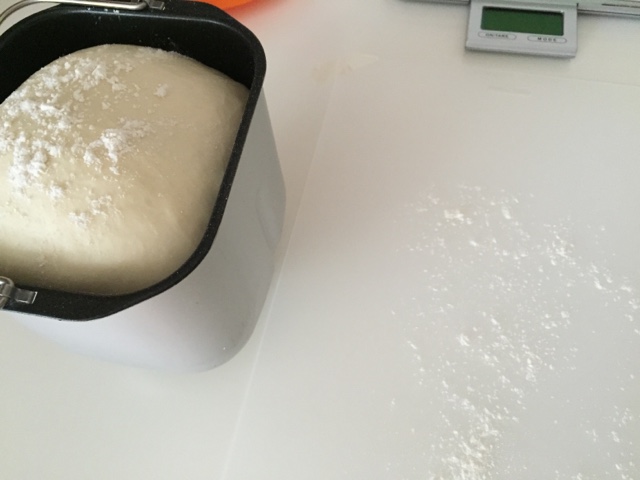
3. After the program ends, let the dough sits in the bread pan for an extra 30 minutes, or till the dough rises to almost the pan height.
As cold ingredients have been used in this recipe, they slowdown the proofing process. Therefore, it needs the extra time for the dough to rise taller.

After 30 minutes,

4. While waiting for the dough to proof, apply a thin coat of butter on the Pullman tin interior walls.

5. Invert the dough out of the bread pan and onto a floured work top.
Wear a pair of disposable gloves to handle the slightly sticky dough.
6. Flatten the dough to release the trapped air. Divide the dough into 3 equal portions, about 191 g each.


7. Shape the dough into 3 balls by pulling down the sides, and seal at the bottom.
Cover and let them rest for about 15 min.

8. Flatten the dough and roll out into a flat oval dough.

9. Roll up the dough from the shorter side, cover with a lid, and let it rest for 10 minutes.


10. After the rest, roll out the dough into a flat dough again. The shorter length of the dough should correspond to the shorter width of the Pullman tin.

11. Flip the dough over so the smoother side will be facing out after rolling up. Roll up the dough from the shorter end.

Place the dough into a greased non-stick Pullman tin. The open end of the dough should be facing down.
12. Spray some water over the dough and place the doughs in a closed oven.
Let the dough proof in a closed warm oven for about 60 ~ 90 minutes, or till the dough reaches close to the rim of the Pullman tin.


13. After the second proofing and the dough has reached close to the rim of the Pullman tin, remove the dough out of the oven. Preheat the oven to 170 degree Celsius. And brush a coat of beaten egg or fresh milk over the dough.


14. Bake the dough at the lower rack of the oven at 170 degree Celsius for about 50 minutes. If your Pullman tin has a thinner wall, you can bake for about 40 minutes at the same temperature.

If the top of the dough brown too fast, around 30 minutes, you can cover the dough with an aluminum foil.


15. Remove the bread from the Pullman tin immediately after leaving the oven. Let the loaf cool down on a wire rack before slicing it.


Recipe adapted from
with appreciation :)
No comments:
Post a Comment
I love seeing your comment and sharing it with other readers. Your comment would be published after moderation. Thank you :)