
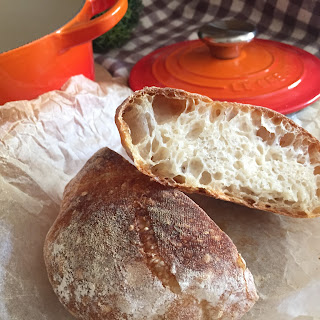
Greatly appreciate My Daily Sourdough Bread for sharing the detailed and explicit beginner's guide to sourdough bread making. I'm happy that with the many pointers mentioned in the guide, I was able to produce a decent sourdough bread with honeycomb-liked texture ( even though this was my first attempt 😁). I knew I didn't do a good scoring to the bread, hopefully my next sourdough bread would look better 😉

Dough
100g unbleached bread flour75g water
2g salt
1/4 tsp water (for dissolving the salt)
Starter (100% hydration)
10g unbleached bread flour10g water
9g active natural yeast
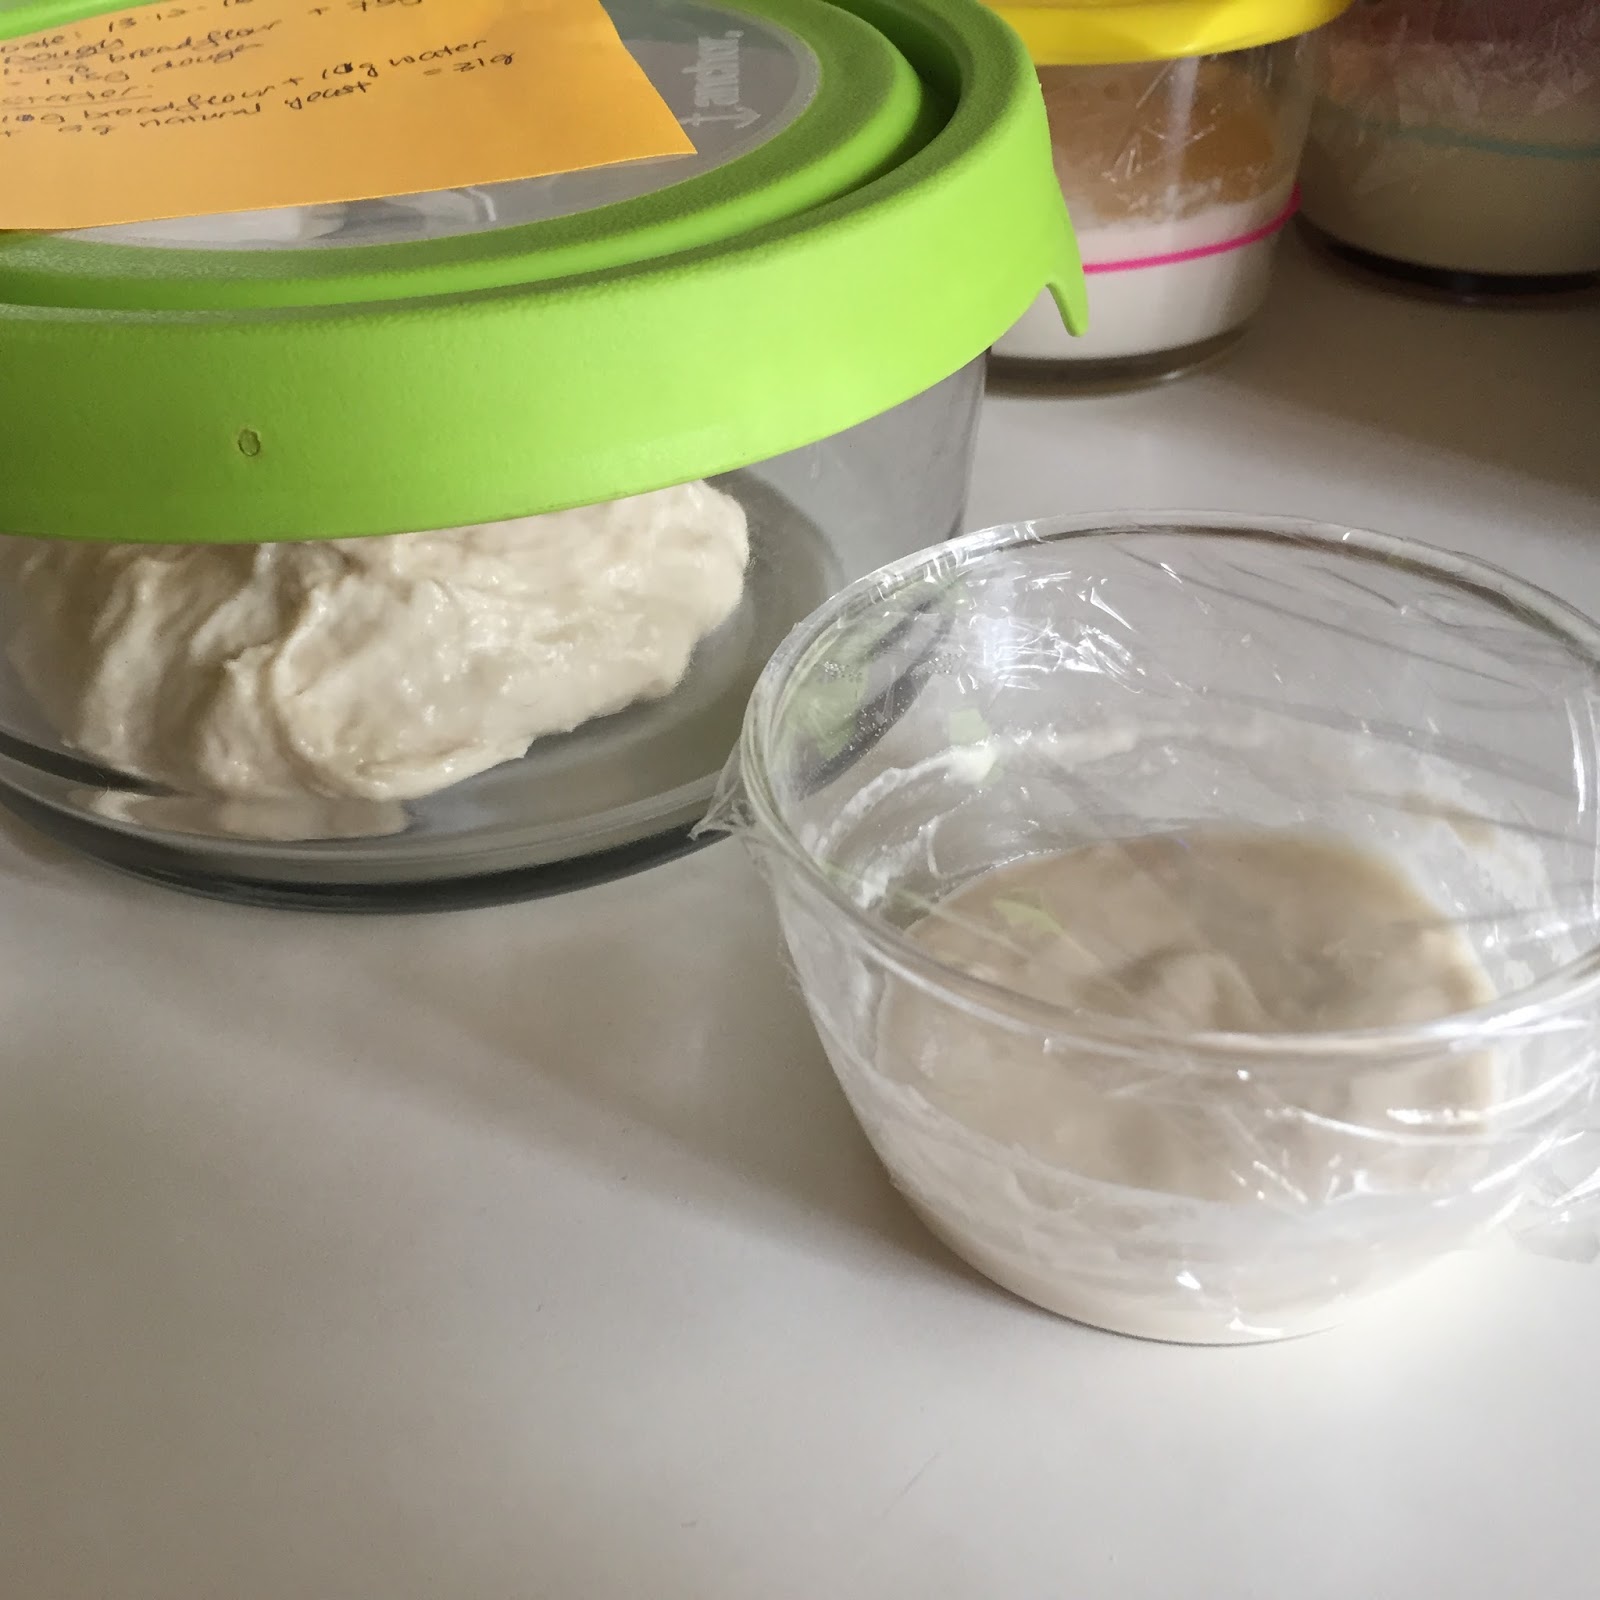
In a separate container, mix 10g of unbleached bread flour with an equal amount of water, and 9 g of active natural yeast. Seal the opening with cling wrap.
I left both in room temperature (abourt 29°C) for about 4 hours before chilling in the fridge vegetable compartment for overnight.


7. The dough is ready when you press the dough, the indent would return slowly, and the volume of the dough would increase.


Directions
1. Mix 100g of unbleached bread flour with about 75g of water to form a soft and sticky dough. Keep the dough in a covered container.In a separate container, mix 10g of unbleached bread flour with an equal amount of water, and 9 g of active natural yeast. Seal the opening with cling wrap.
I left both in room temperature (abourt 29°C) for about 4 hours before chilling in the fridge vegetable compartment for overnight.
The original guide suggested to prepare these two items in the evening, and leave them in room temperature till next morning. However, with our warmer tropical temperature, I believed it would be better to leave them in the fridge.

2. In the next morning, I took out the two doughs and left them in room temperature for about 45 minutes before combining them. The dough was given about 2 minutes of kneading, and left to rest for about 1 hour.
2. In the next morning, I took out the two doughs and left them in room temperature for about 45 minutes before combining them. The dough was given about 2 minutes of kneading, and left to rest for about 1 hour.
After 1 hour, dissolve 2g of salt in a small amount of water, and kneaded it into the dough.
The dough was then undergone 3 hours of bulk fermentation.
I did 4 to 6 stretch and folds at an interval of about 30 minutes during the bulk fermentation.

Cover the dough with a lid after every stretch and fold session.

The last stretch and fold session.

3. After the 3 hours of bulk fermentation, dust some bread flour over the dough before turning it out onto a work top.
Use a dough cutter to help me fold up the dough into half. Turn 90° and fold up again. Repeat the steps till the dough became a ball.
Let the dough rest for about 15 minutes.

4. While the dough was resting, prepare the proofing basket by placing a kitchen towel into a basket. I used a steel colander.
Dust some bread flour over the kitchen towel.
Dust some bread flour over the kitchen towel.
5. After the 15 minutes rest, flip the dough over and fold in the four sides. Finally, roll up the dough to create tension on the surface.


You'll be able to see trapped bubbles below the surface.


6. Transfer the dough into the proofing basket with the smooth side facing down. Fold in the kitchen towel to cover the dough. Let the dough proof for about 3 hours at room temperature of about 30° C.
The owner of the recipe suggested to to do an extra 1 hour of.proofing in the fridge for easy scoring later. But I skipped this step 😬


8. About 1/2 an hour before baking, preheat a Dutch oven with the lid in the oven at 240°C.
(I learned from another guide suggested that the bread can be place in a cold Dutch oven, and bake in a preheated oven for 30 minutes, before baking without the lid. I may try this next time 😁)
9. Turn the dough onto a parchment paper and do some scoring on the surface.

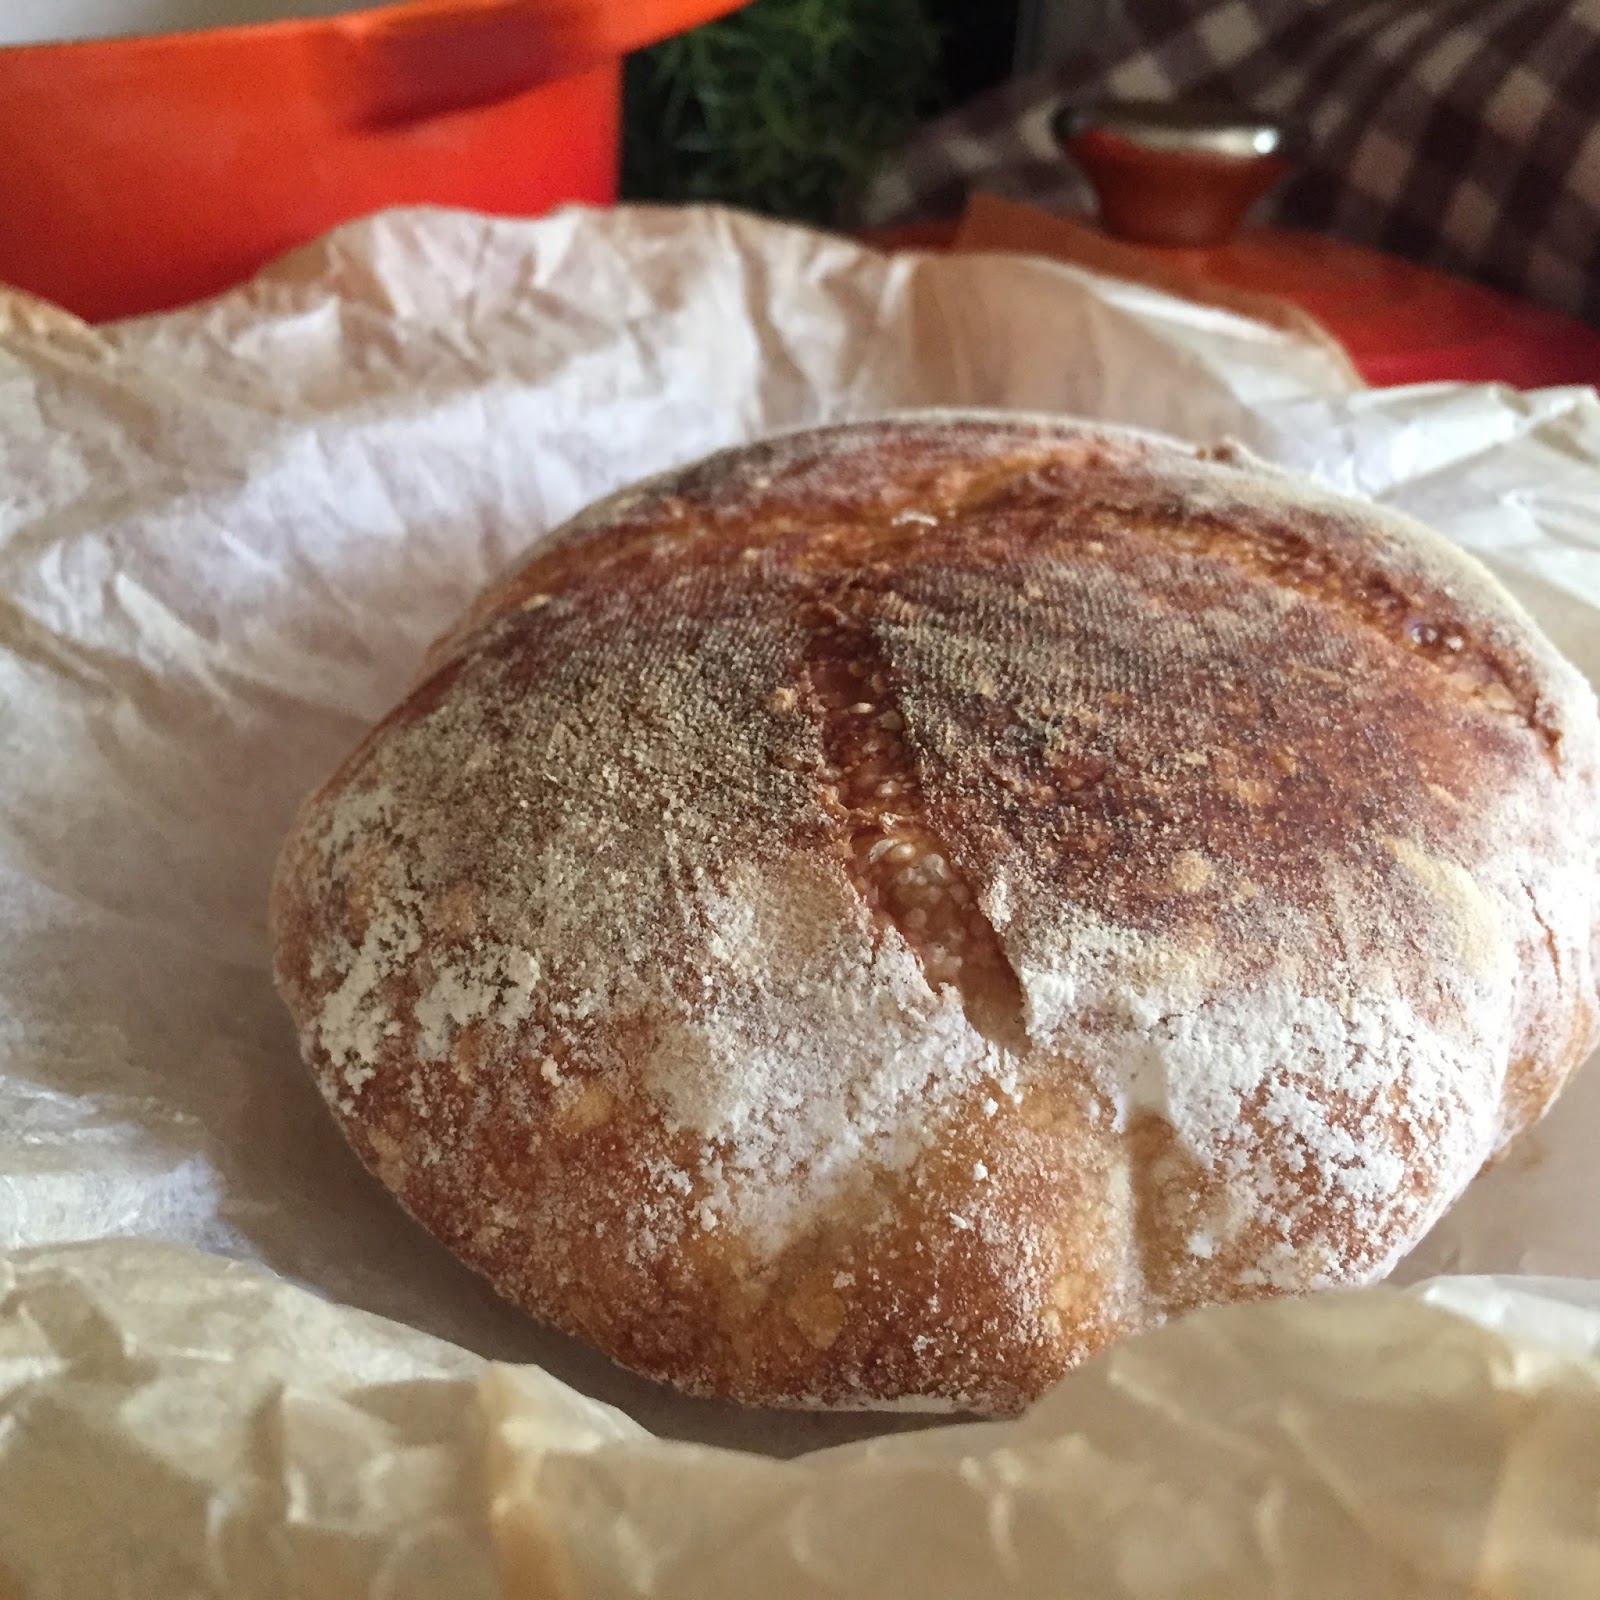
10. Lower the dough into the hot Dutch oven, cover and bake at 240°C for about 20 minutes. Remove the lid and reduce the oven temperature to 230° C and bake for about 20 to 25 minutes, or till golden.

11. Let the bread cool down before cutting 😜
But I cut the bread while it was still warm 😌 Can't wait any longer, hehe 😬


No comments:
Post a Comment
I love seeing your comment and sharing it with other readers. Your comment would be published after moderation. Thank you :)