
I love the Pain de Mie recipe, a French white bread, developed by a renowned Taiwanese baker, 王传仁. In order to fortify this delicious bread with some healthier ingredients, I substituted part of the bread flour by Prima Superfine Wholegrain Flour, as well as changed the white sugar to raw sugar. Owing to the natural pigments of these two ingredients, the original white bread took on a light brown colour. Although the wholemeal flour only represented about 30% of the total flour weight, I could still smell the nice aroma of the wheat 😁
I also replaced part of the commercial yeast by natural yeast. And let the long proofing process done in the fridge.
Soft and natural are all I like about this bread 🍞 The brown and crispy top crust of the bread also helped to bring out the aroma of the bread 😋 Therefore, this bread is best serve as a light toast to enjoy the full aroma 😍

This bread is really very nice. That's why I baked two loaves 🍞🍞 within 3 days 😊

Yield: one 20x10x15cm bread
Raw dough weight: 587g
Bread Weight: 550 g
Pan size:
20x10x10cm Pullman tin
Baking temperature & Time:
175°C for 15 minutes, then lower to 170°C for 35 minutes, at lower rack of an oven.
Ingredient A
For commercial/instant dry yeast witout natural yeast recipe, follow the green prints, or else follow the black prints. The suggested amounts given in green were based on estimation 😀 You may have to make minor adjustments based in the dough condition,
175g (200g) cold water 冰水*
25g raw sugar 黄砂糖
1/2 tsp salt 盐 ~4g
20g rice bran/veggie oil 米糠油/植物油
10g cold unsalted butter 冷无盐奶油
Ingredient B
200g (225g) Prima bread flour 百龄麦高筋面粉
90g Prima superfine wholegrain flour 百龄麦超细全麦面粉
12g milk powder 奶粉
Ingredient C
1/4 tsp (1/2 tsp) instant dry yeast 即发干酵母
50g natural yeast (100% hydration) 天然酵母
Directions
1. Feed active natural yeast with water and unbleached bread flour. Use the natural yeast about 1 to 2 hours after feeding.
For growing natural yeast using grapes, please click here :)

2. Pour Ingredient A into the bread pan.
For growing natural yeast using grapes, please click here :)

2. Pour Ingredient A into the bread pan.


3. Mix Ingredient B before adding on top of Ingredient A.


4. Dig a hole in the centre of the flour, and pour instant dry yeast of Ingredient C in.
Pour the natural yeast along the edge of the flour.


5. Select "C-11 Ferment Dough" function and press start. Although the process will take about 1:30 hour to complete, stop the process when the countdown timer reads 0:45 hour after the kneading blade has made 5 turns to flip the dough.

1 minute before the kneading blade start to turn.

The kneading blade was in the process of turning.

At the end of the 5 turns.

6. Stop the program, and transfer the dough to a plastic bag pre-coated with a little vegetable boil.
Tie the plastic bag with a loose knot. Let the dough proof in room temperature (29~30°C) for about 50 to 60 minutes.
For pure commercial/instant dry yeast dough, proof the dough in room temperature for about 20 minutes before transferring to the fridge.

1 hour after proofing in room temperature.

To prevent moisture loss in the fridge, keep the dough in another plastic bag.

Finally, place the dough in a bowl and cover with a lid. Store the dough in the fridge for about 12 to 18 hours to undergo cold fermentation.

7. Transfer the cold dough out of the fridge. Remove the outer plastic bag as, invert the dough, and let it thaw for about 1/2 to an hour.

8. While waiting for the dough to thaw, apply a thin coat of butter on the Pullman tin interior walls.

9. Cut open the plastic bag, and turn the dough onto a floured work top.
Wear a pair of disposable gloves to handle the slightly sticky dough.


10. Flatten the dough to release the trapped air. Divide the dough into 3 equal portions, about 198g each.
It's okay if the dough is still cold to touch.


11. Shape the dough into 3 balls by pulling down the sides, and seal at the bottom.
Cover and let them rest for about 15 min.


12. Flatten the dough and roll out into a flat dough.

13. Flip over and roll up the dough from the shorter side, cover with a lid, and let it rest for 10 minutes.


14. After the rest, roll out the dough into a flat dough again. The shorter width of the dough should correspond to the shorter width of the Pullman tin.


15. Flip the dough over so the smoother side will be facing out after rolling up. Roll up the dough from the shorter end.


Place the dough into a greased non-stick Pullman tin. The open end of the dough should be facing down.

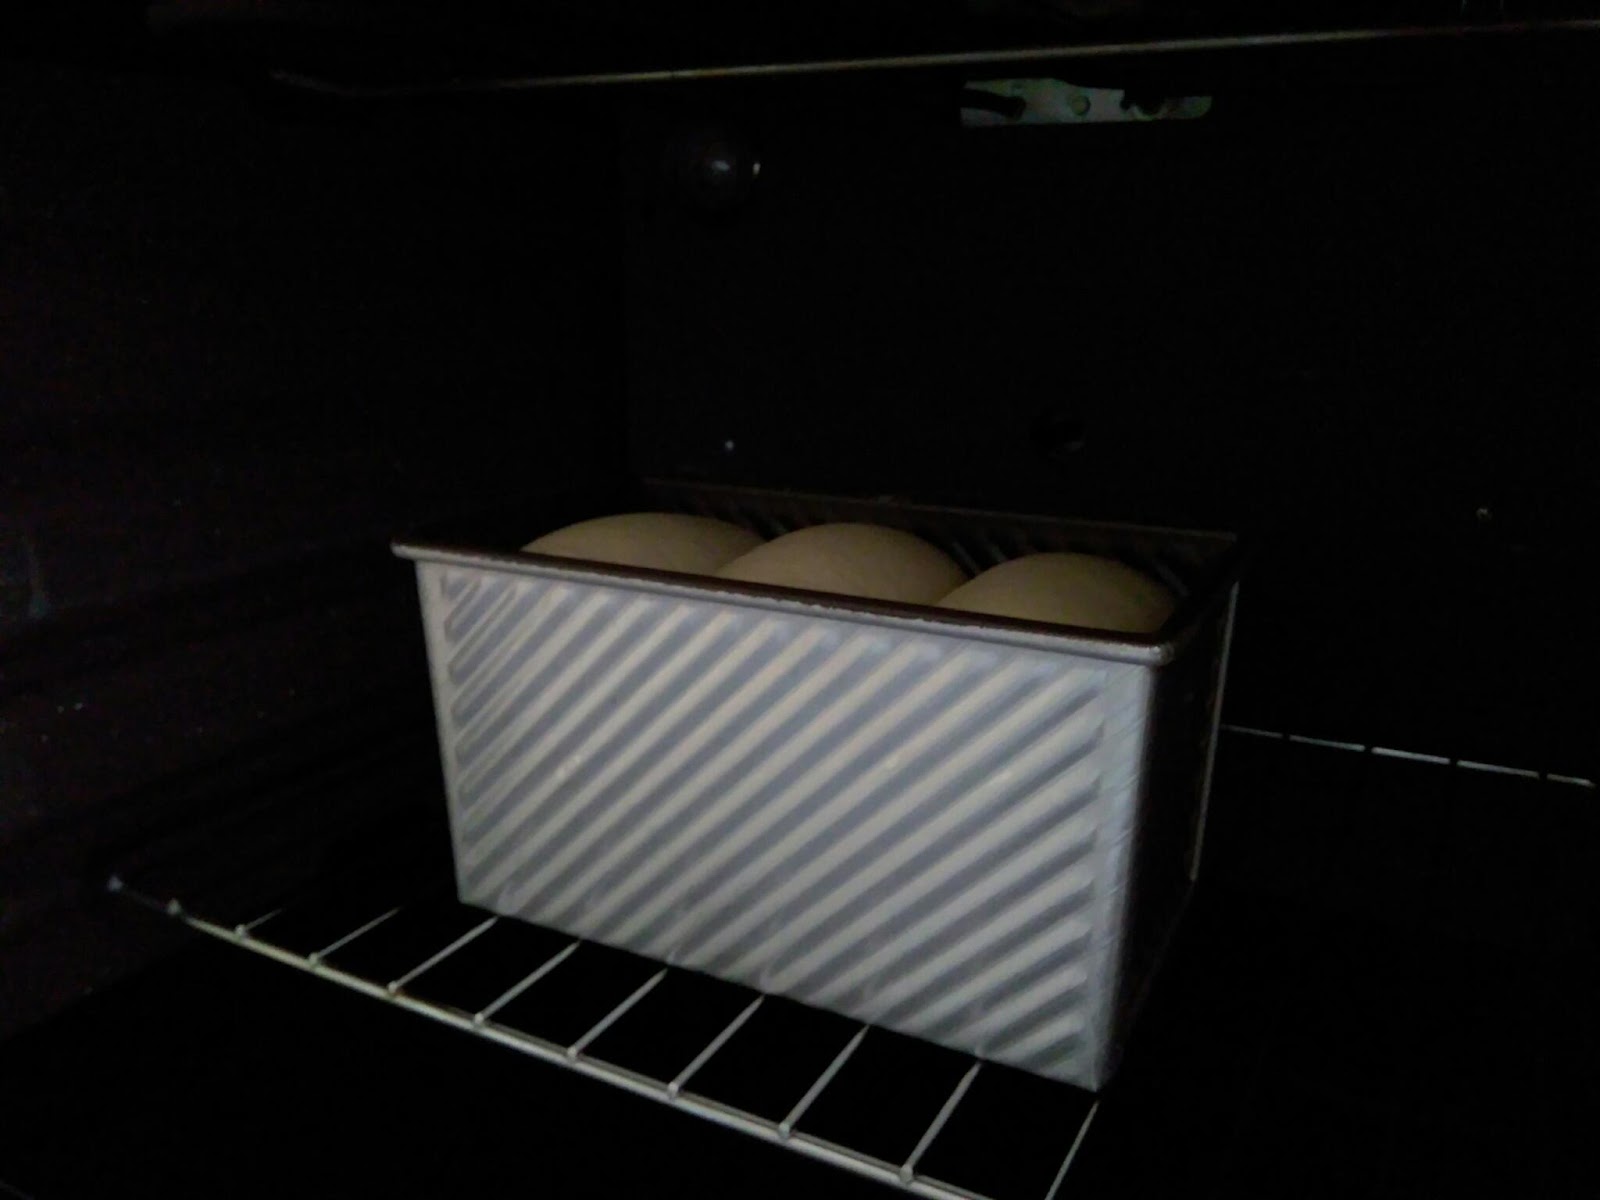
16. Spray some water over the doughsi and place them in a closed oven.
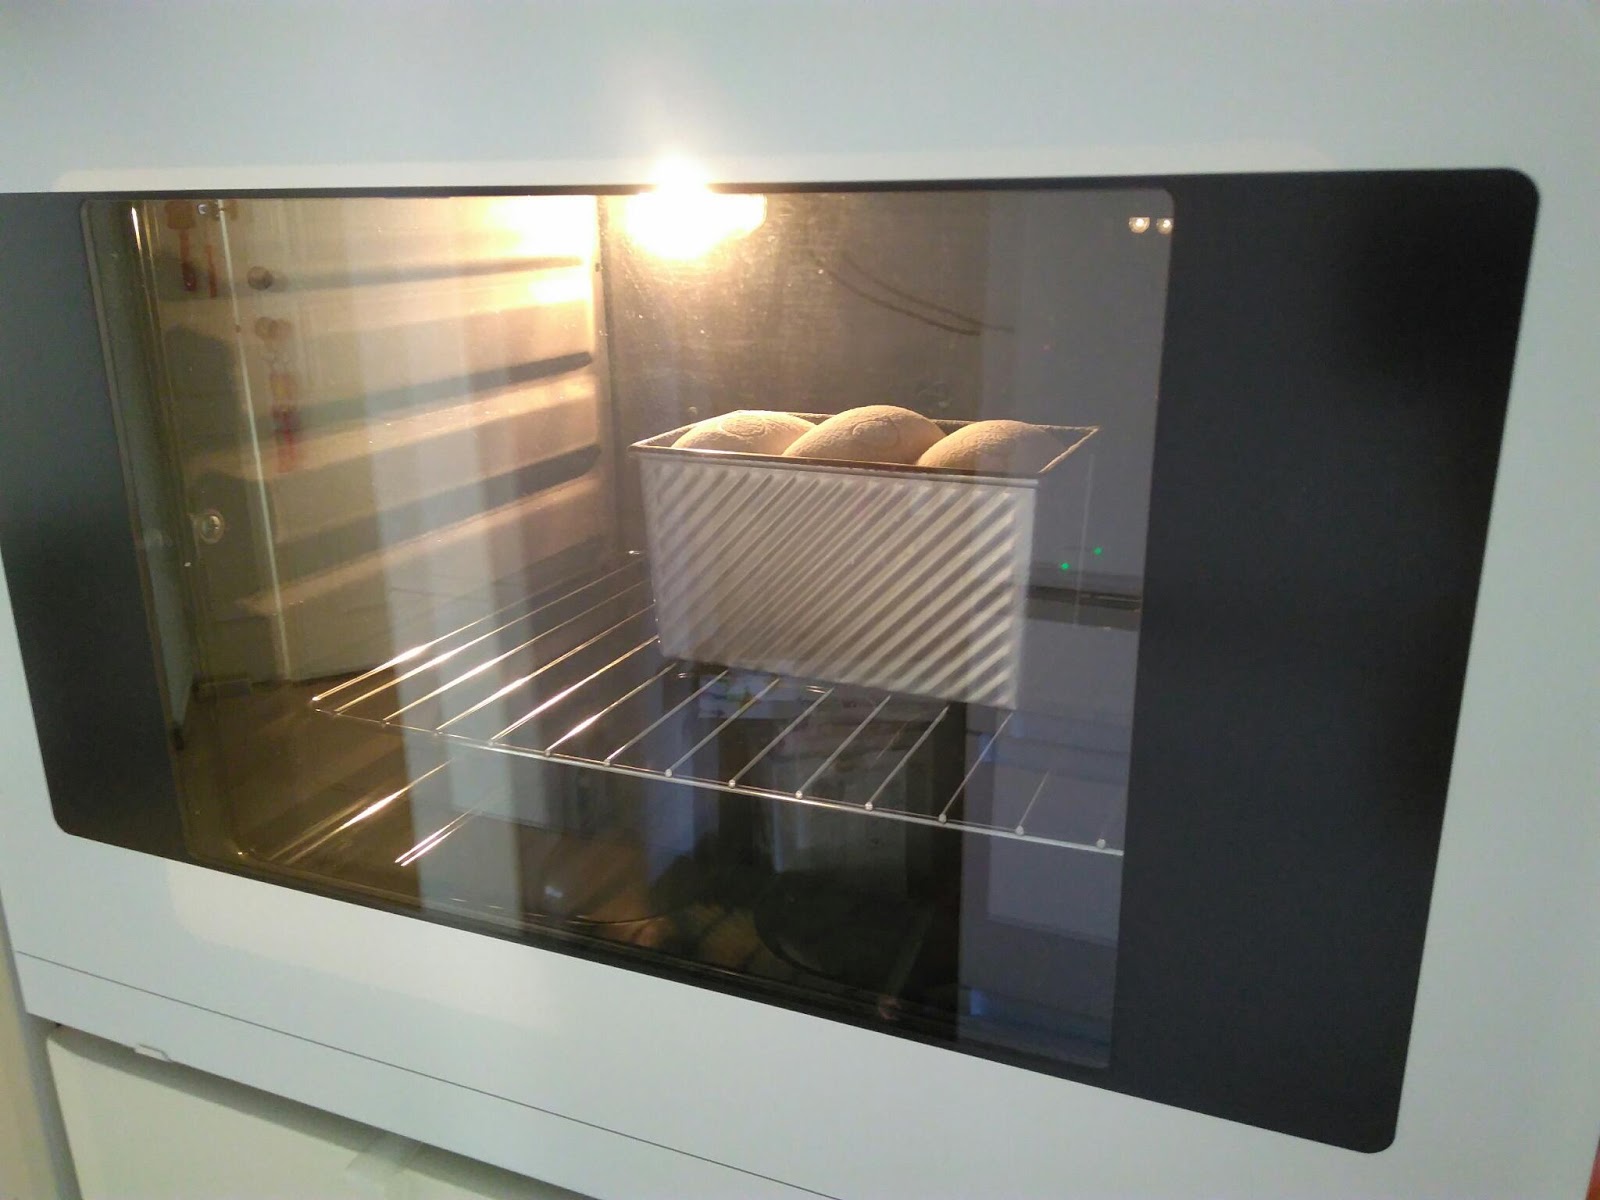
Let the dough proof in a warm oven for about 90 to 100 (60~70) minutes, or till the dough reaches about the rim of the Pullman tin.
To facilitates the second proofing, you may switch on the oven to its minimal temperature, about 50°C, for about 1 minute.


About 90 minutes after proofing.

17. At the end of the second proofing, the dough would have reached to the rim of the Pullman tin, remove the pan out of the oven. Preheat the oven to 175°Celsius.

18. The decoration is optional. You can skip to the last step - just sprinkle bread flour over the top.
Start to decorate the crust with a wet cotton string,

Sprinkle a thin layer of bread flour over. I utilise the remaining dusting bread flour for this.

Lift up the string and remove it slowly.


18. Bake the dough at the lower rack of the oven at 175 degree Celsius for about 15 minutes. Lower the oven temperature to 170°C and bake for about 35 minutes, or till the bread bake through.
If your Pullman tin has a thinner wall, you can bake for about 40 minutes at the same temperature.

19. Remove the bread from the Pullman tin immediately after leaving the oven. Let the loaf cool down on a wire rack before slicing it.


This is the second loaf with a different flour pattern 😁


Baked on 7 March 2017


Baked on 30 June 2017
Replaced 10g of superfine wholegrain flour by 10g of spelt flour, and also added an extra 5g of water to the dough during kneading. The dough was quite sticky, so I shaped the dough only 1/2 hour after thawing to avoid handling a stickier dough. The final bread was very soft, maybe because of the higher water content :)


Hi, may I ask what is natural yeast?
ReplyDeleteHi Kirsten, natural yeasts are cultivated from natural food like grapes, raisins, banana, or grains. They are later grown using flour and water in the later stage during regular maintenance. They have the same function as commercial yeast, but work much slower :)
Delete