
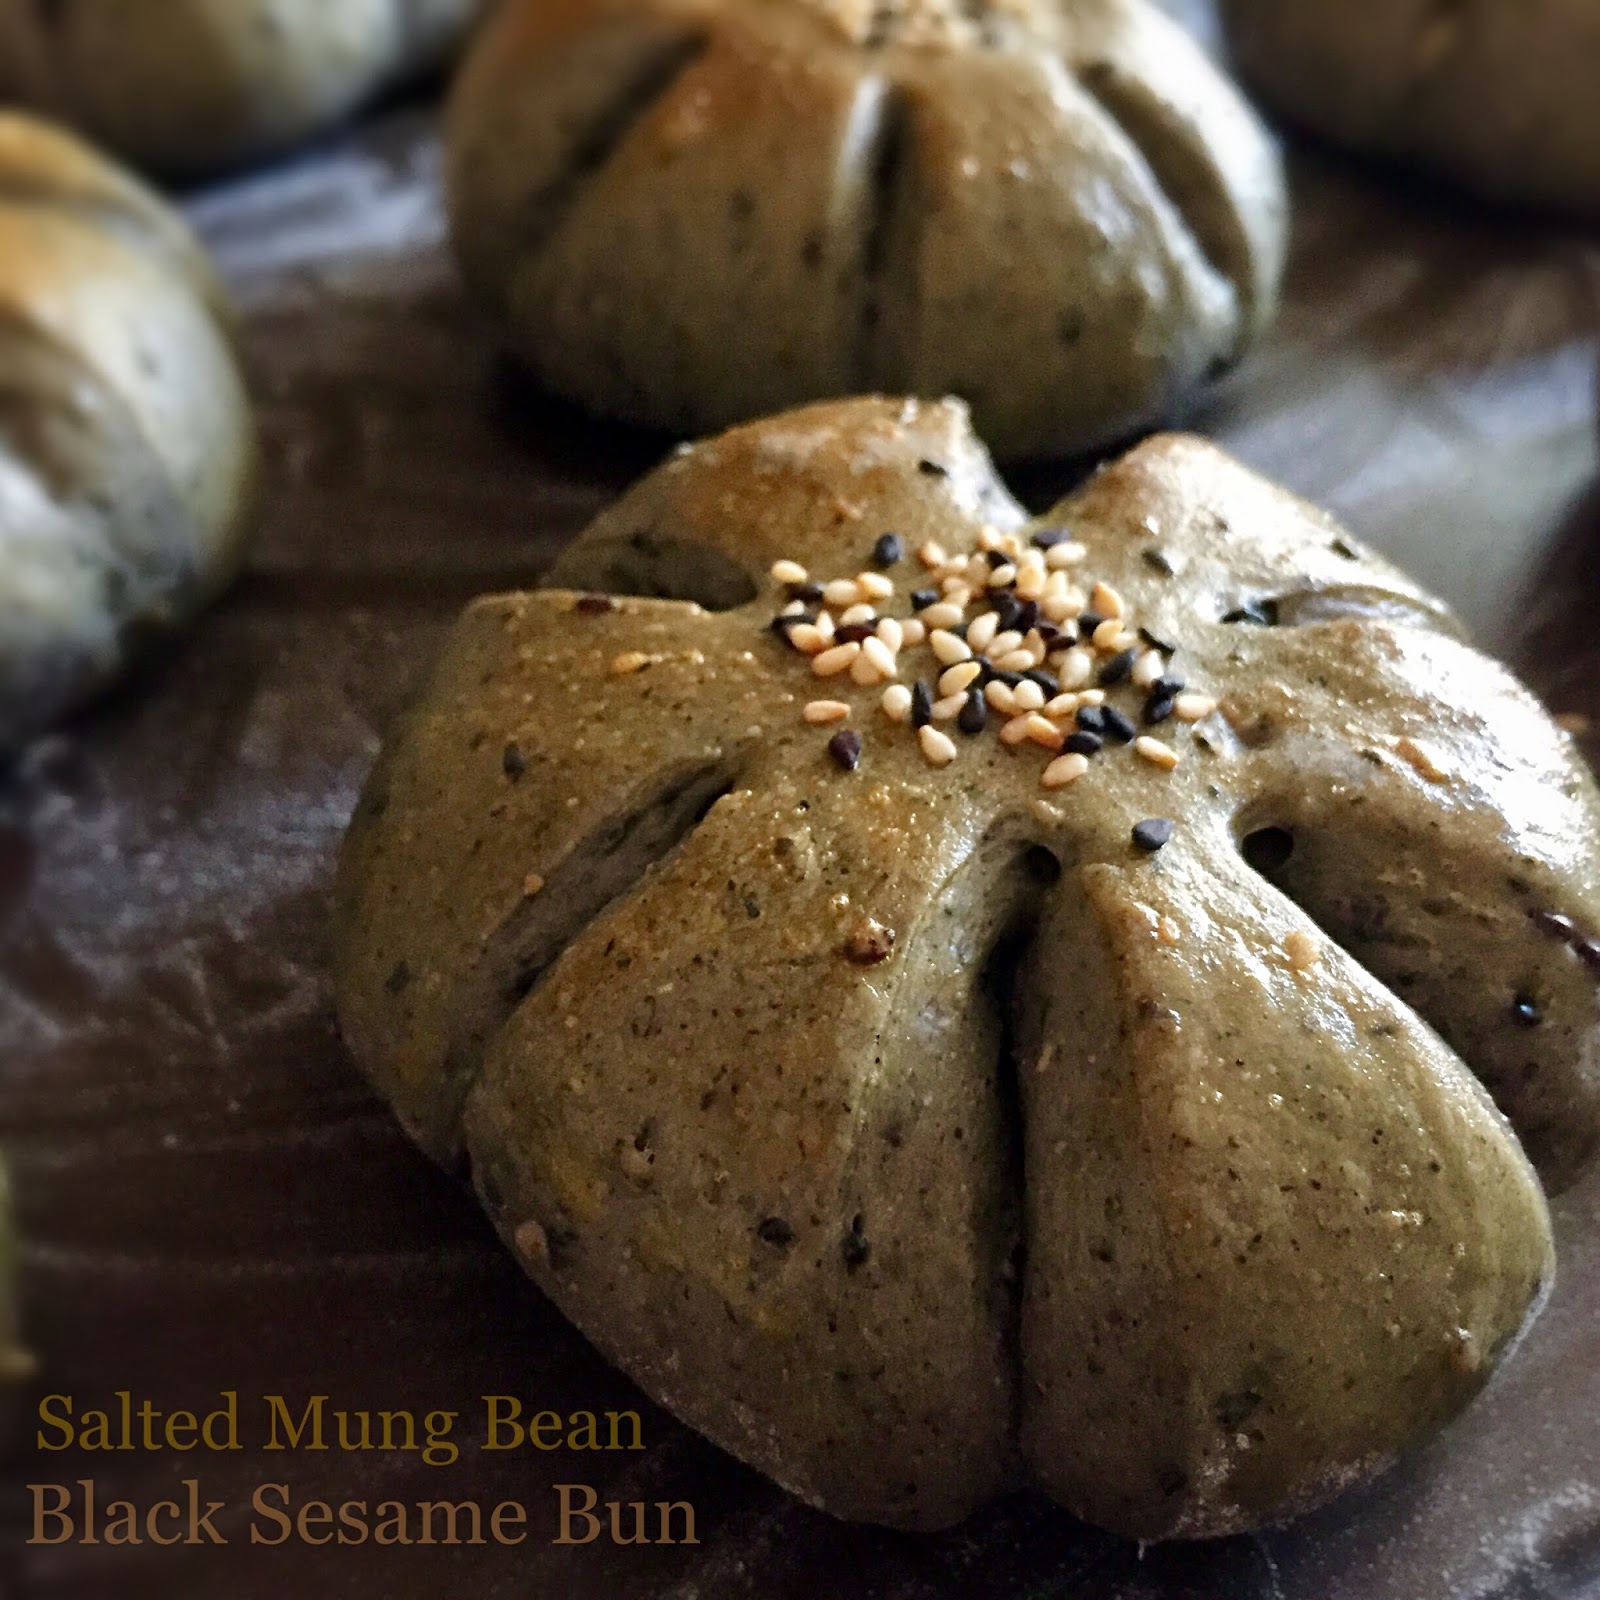
I have to admit that this black sesame bun does not have an appealing colour. Dark grey is not a right colour associating with appetizing food. However, the bread tasted wonderfully in my mouth - the aroma of dark sesame seeds and salted mung bean paste came together so well. Don't judge the bun by its colour

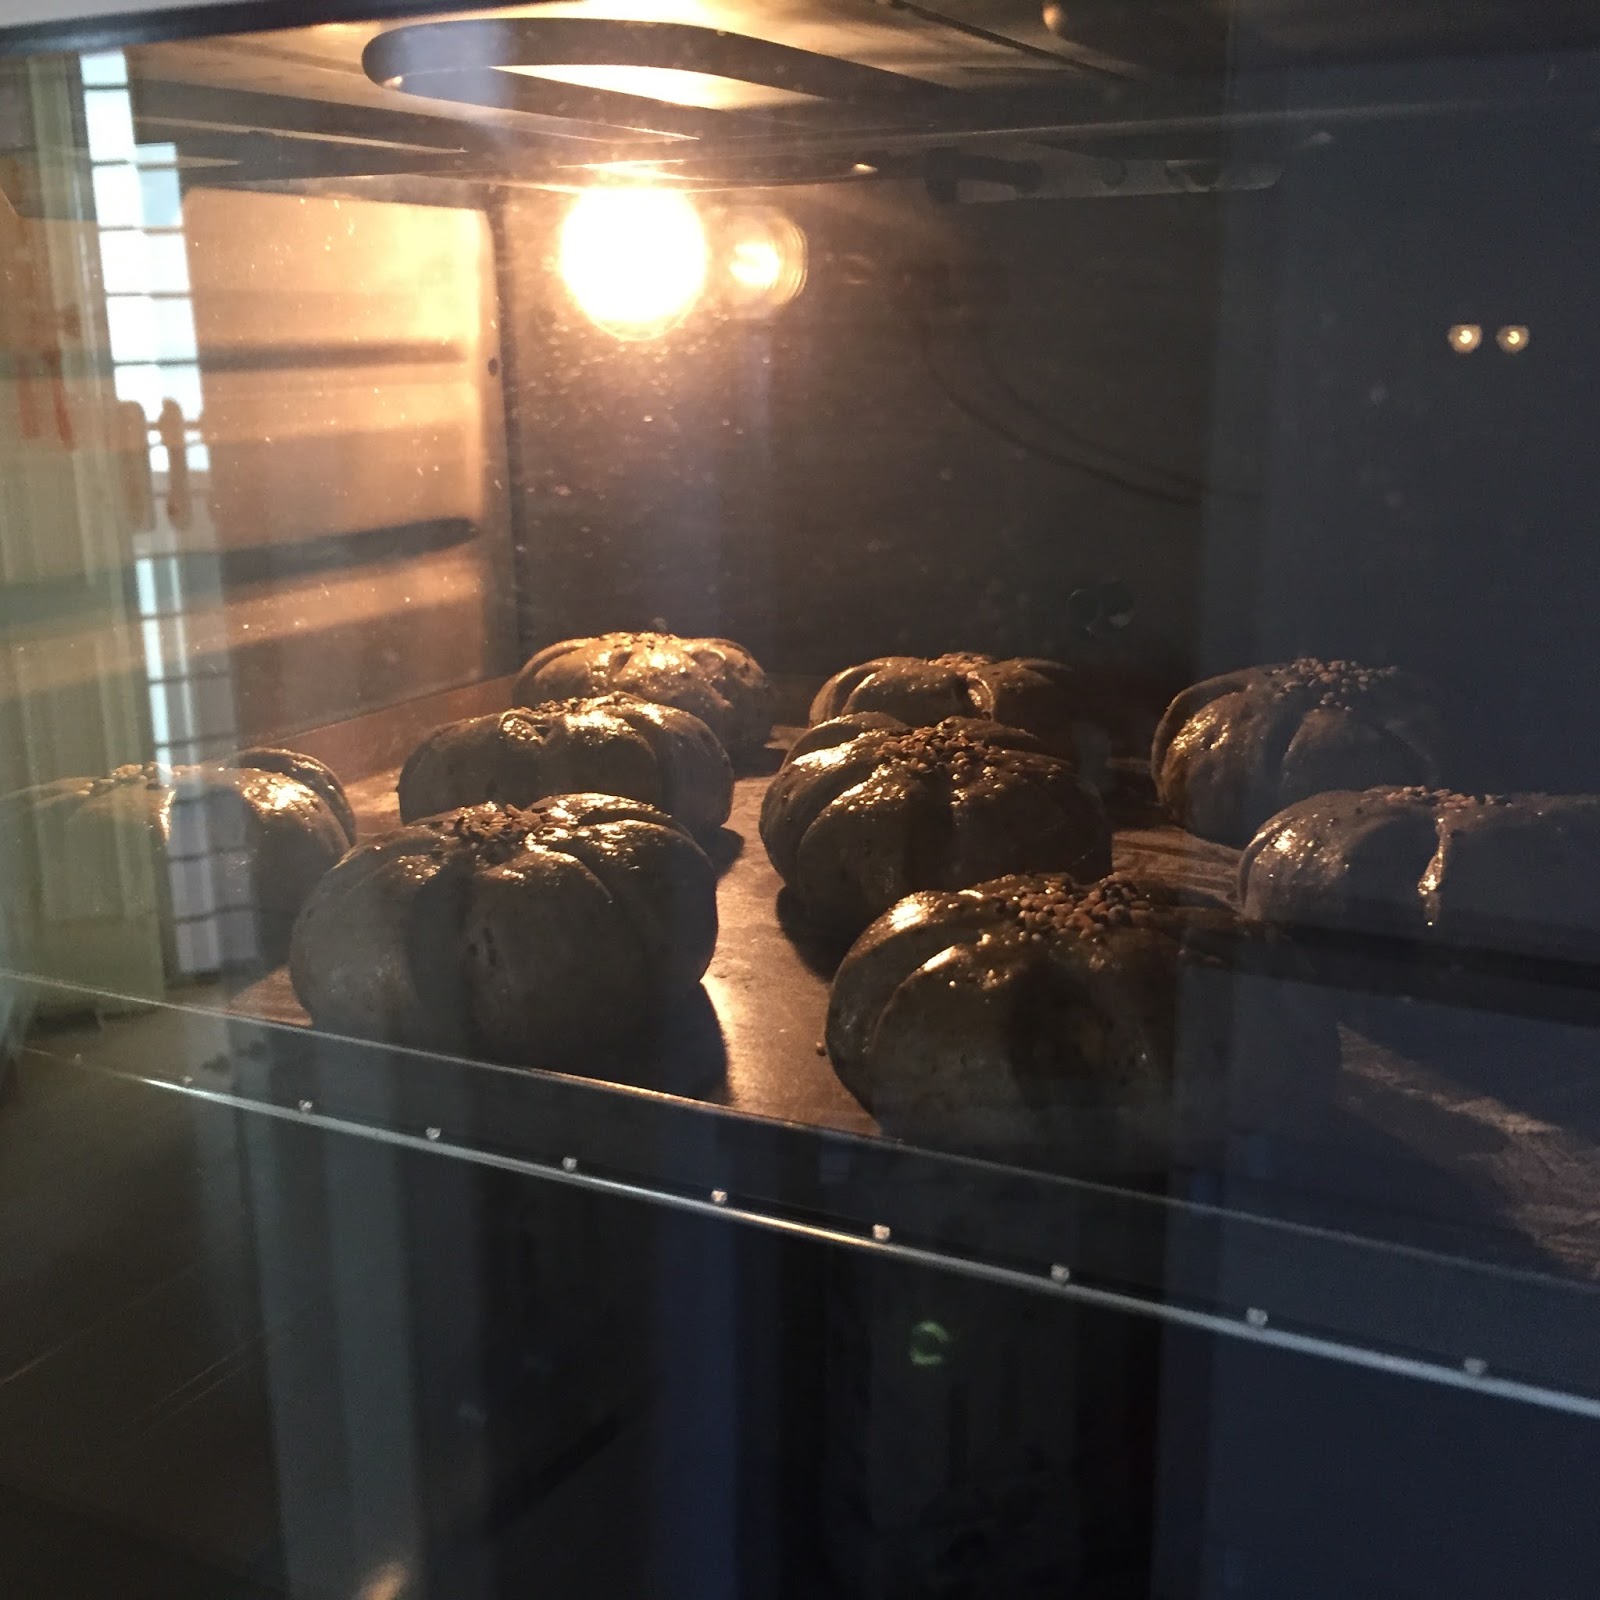
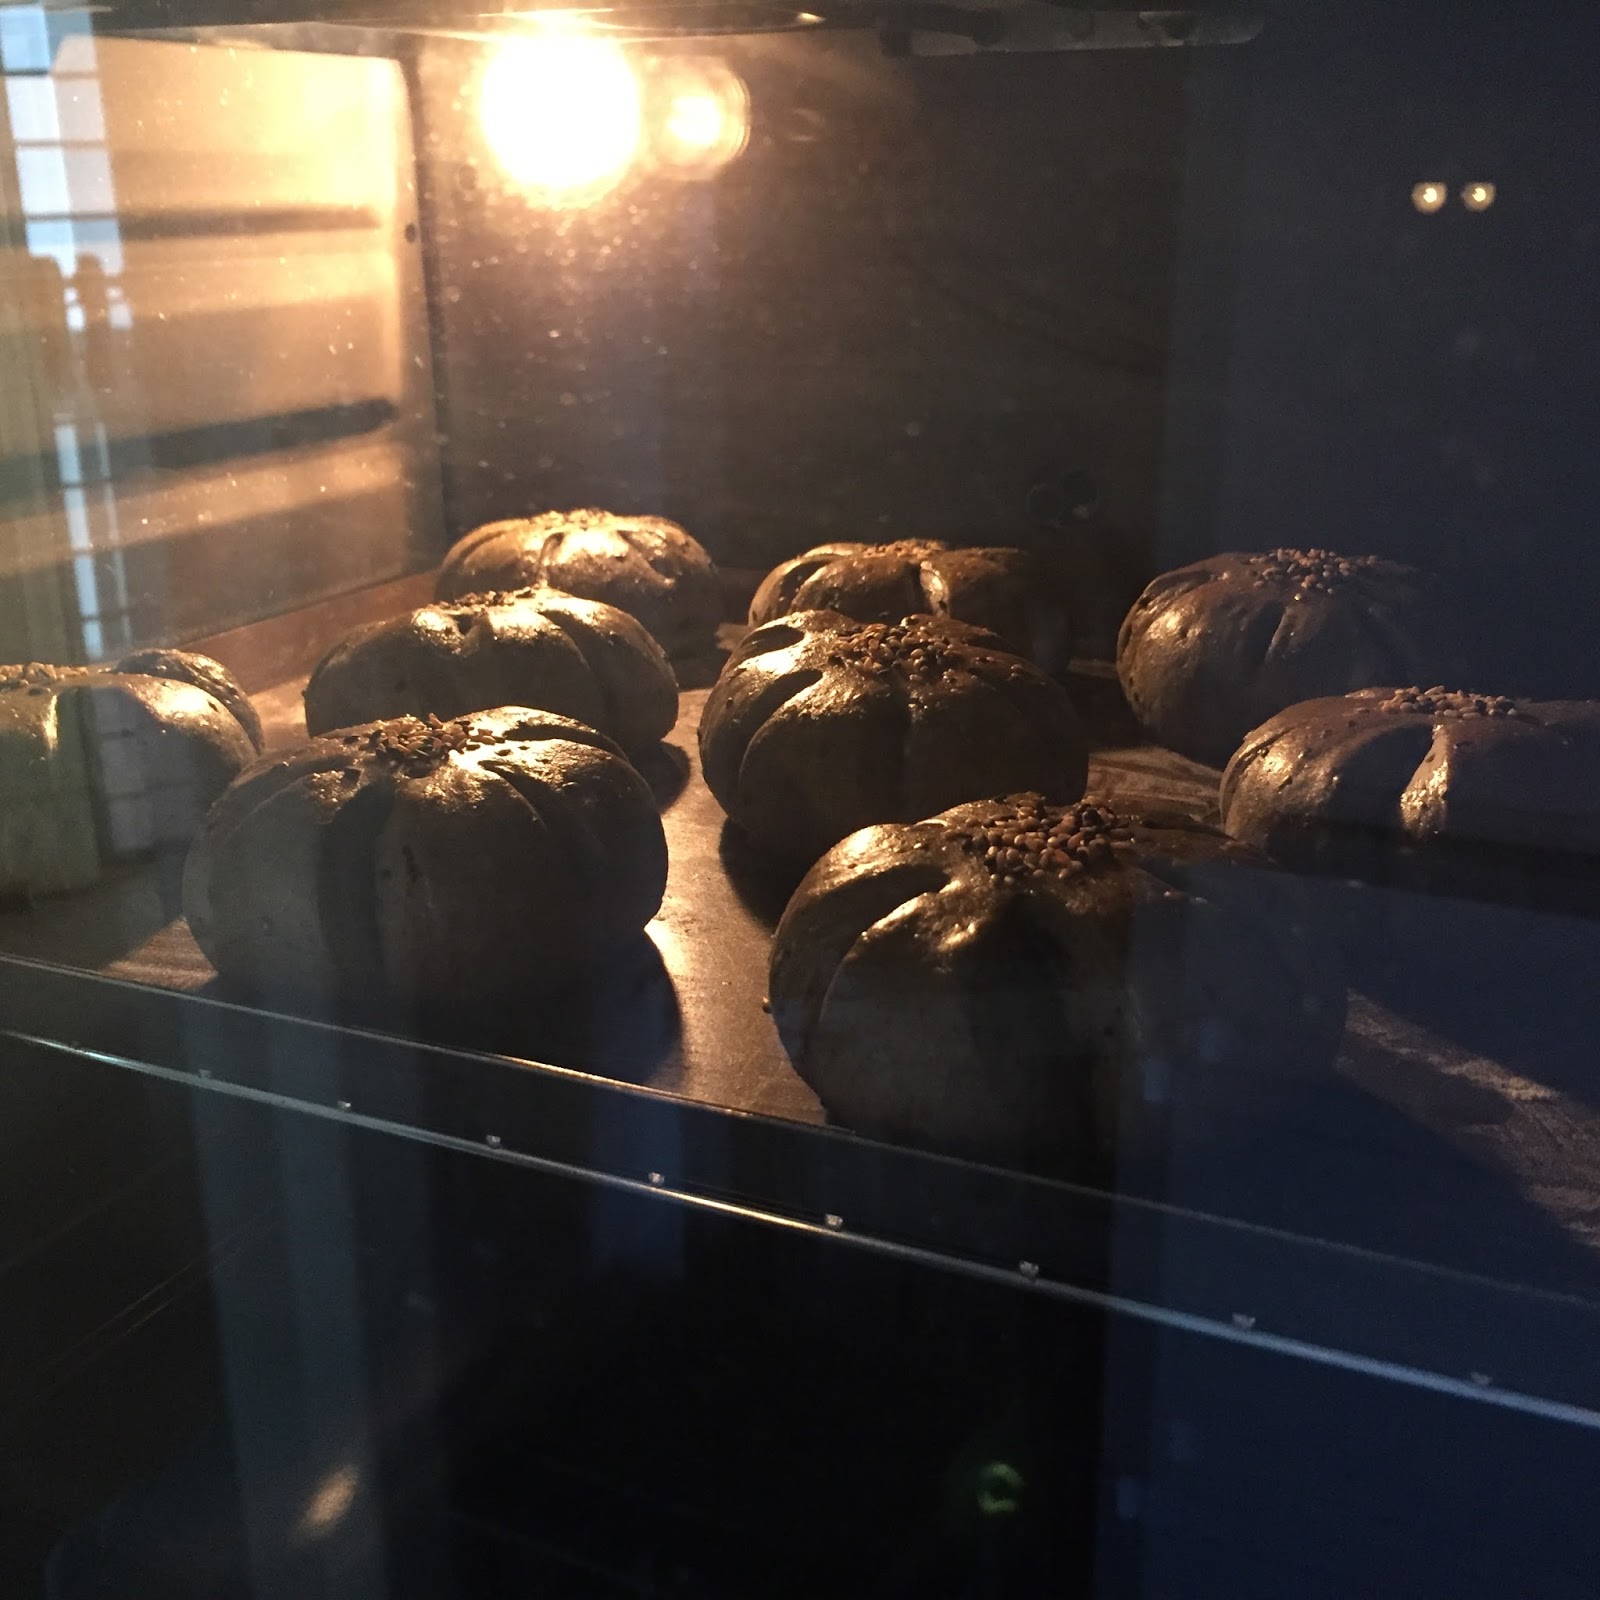
In order to intensify the black colour of the black sesame seeds, I added bamboo charcoal powder to my second bake. Below was the picture of my first bake - without bamboo charcoal powder, the bread crumb appeared in a lighter grey colour.


Yield: 9 small buns
Bread weight: -
Raw dough weight: 460g
Appliances:
Mayer MMBM12 breadmaker 面包机
Ingredients
Bread Dough
75g cold milk 冷牛奶
70g cold water 冷水
30g raw sugar 黄砂糖
20g beaten egg 蛋液
1/4 tsp salt 盐
15g rice bran/vegetable oil 米糠/植物油
205g unbleached bread flour 无漂白高筋面粉
25g Superfine Wholegrain flour 超幼全麦/中筋面粉
20g roasted black sesame seeds 烤香黑芝麻
1/4 tsp bamboo charcoal powder, optional 竹炭粉,可省略
1/2 tsp instant dry yeast 即发酵母粉
Filling
300g salted mung bean paste

Toppings
Some beaten egg & sesame seeds 蛋液和芝麻 做表面装饰
Directions:
1. Roast black sesame seeds in a preheated oven at 180°C for about 10 minutes, or till fragrant.
Crush the warm sesame seeds in a plastic bag using a rolling pin. Or, you can grind the seeds in a food processor.

2. Mix bread flour, superfine wholegrain flour, black sesame seed powder, and bamboo charcoal powder in a bowl before adding to the bread pan.

3. Pour all the bread dough ingredients into the bread pan following the sequence listed. Transfer the bread pan to the bread maker.
I prefer to mix the flour ingredients together before adding to the bread pan.


Select "C-11" Ferment Dough function; and press "Start". The mixing, kneading and first fermentation will take 1 hour 30 minutes. As the dough would be performing overnight cold fermentation, the program would have to be terminated manually.

4. When the countdown timer reads "0:45", the kneading blade will rotate about 7 revolutions. Give the "Stop" button a long press to terminate the program manually.

Remove the dough from the bread pan, and transfer to a plastic bag lightly coated with oil. Tie a loose knot at the end.
Wrap with a second plastic bag, and keep in a mixing bowl covered with a lid. Squeeze out most of the air from both bags.

Keep in the fridge for overnight cold fermentation.

5. In the next day, take out the dough from the fridge 1 hour prior to shaping. Remove the outer plastic bag, invert the dough, and let it thaw for about 1 hour.

6. Turn out the dough onto a floured surface. Flatten it with your palm to release the trapped air.
Divide the dough into 9 portions, about 51g each.


7. Roll up the individual dough and shape into ball by pulling down the side of the dough, and seal at the bottom.

Cover and rest for about 15 minutes.

8. Take a dough and roll out flat using a rolling pin.

Flip over and place about 32g of salted mung bea paste in the centre.

Wrap up the dough and pinch to seal.

Cup your hand and briefly shape the dough into a ball. Lightly flatten the dough ball with your palm.


Make about 5 to 6 cut round the edge to create a flower pattern.

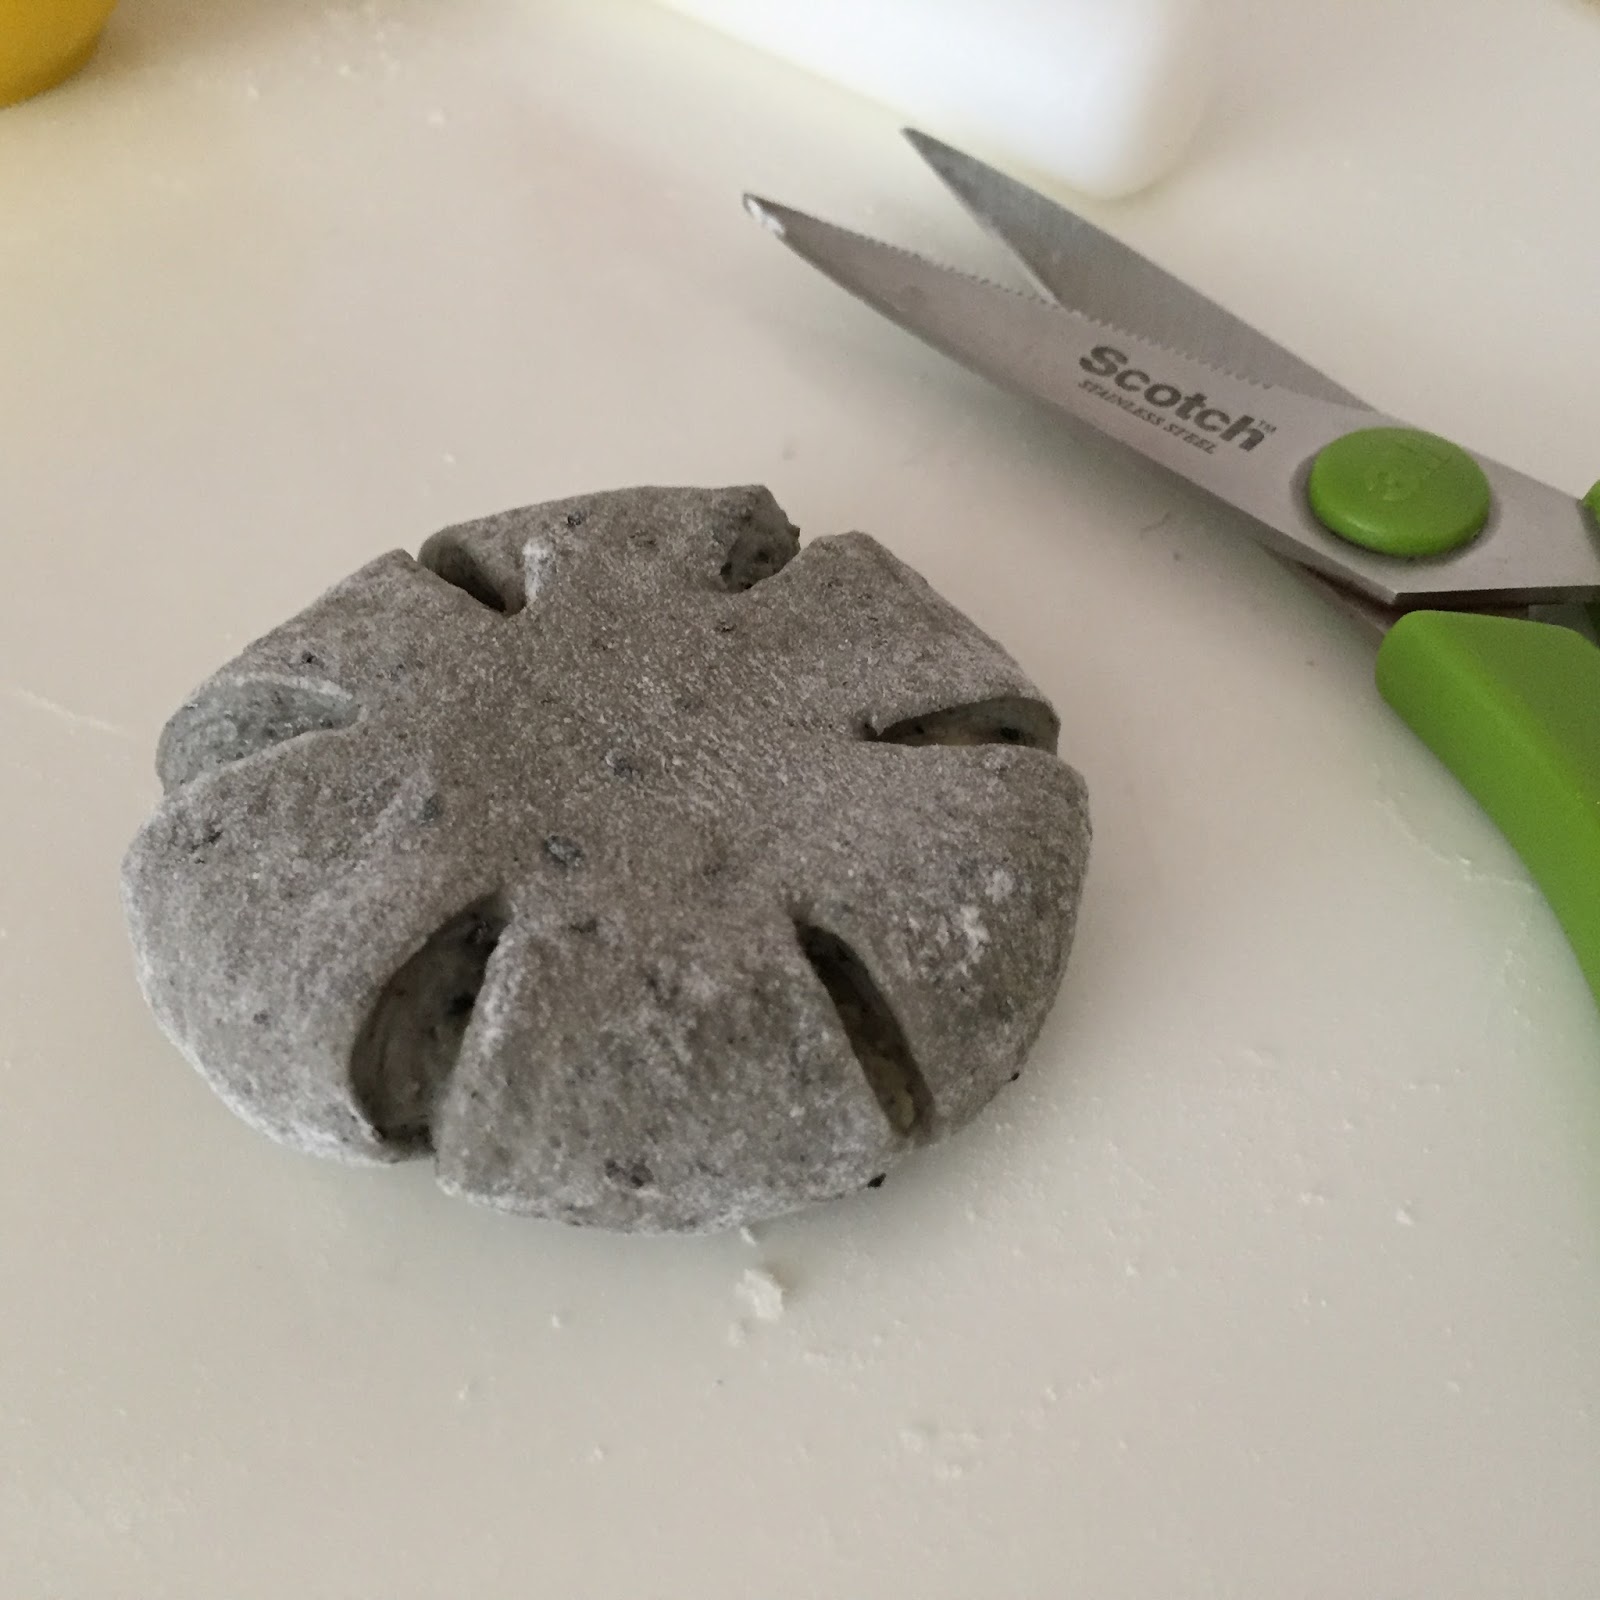
9. Place the dough onto a non-stick baking tray sprinkled with a thin layer of bread flour.

Spray some water and let the dough proof in a closed oven for about 40 to 50 minutes, or when the dough almost double in size.


10. Remove the baking pan from the oven. Start to preheat the oven to 170° Celsius.

11. Apply a thin coat of egg wash over the surface of the dough.


Sprinkle some sesame seeds over the centre of the dough.

12. Bake in a preheated oven at 170° Celsius, at the middle rack, for about 17 to 20 minutes.
End of baking.
13. Remove the bread from the oven, and allow to cool on a wire rack for 5 minutes.


My first attempt without adding bamboo charcoal powder. Both tasted equally nice :)

My first attempt without adding bamboo charcoal powder. Both tasted equally nice :)


No comments:
Post a Comment
I love seeing your comment and sharing it with other readers. Your comment would be published after moderation. Thank you :)